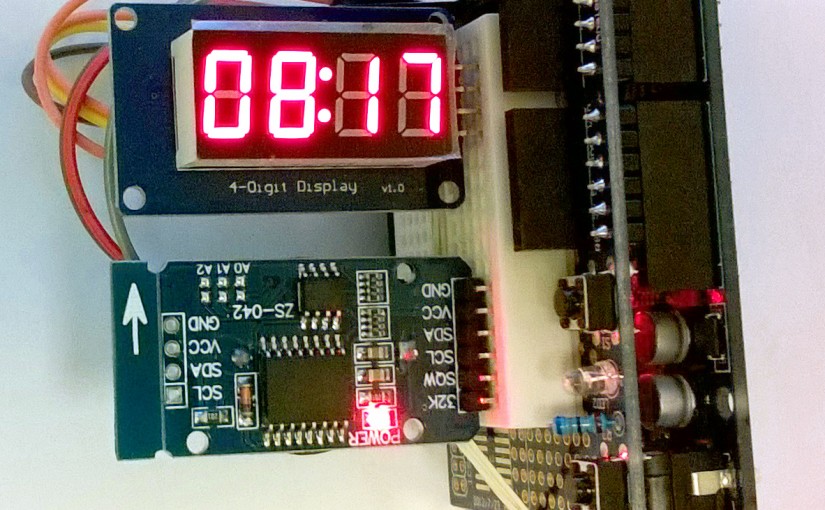
DS3231 clock with AT24C32 memory connected to TM1637 controlled 4digits 7segment display. This is first step in using DS3231 clock – see also next steps with 8 digits 7 segment display and with use of internal timer interrupts and with combining two display types)
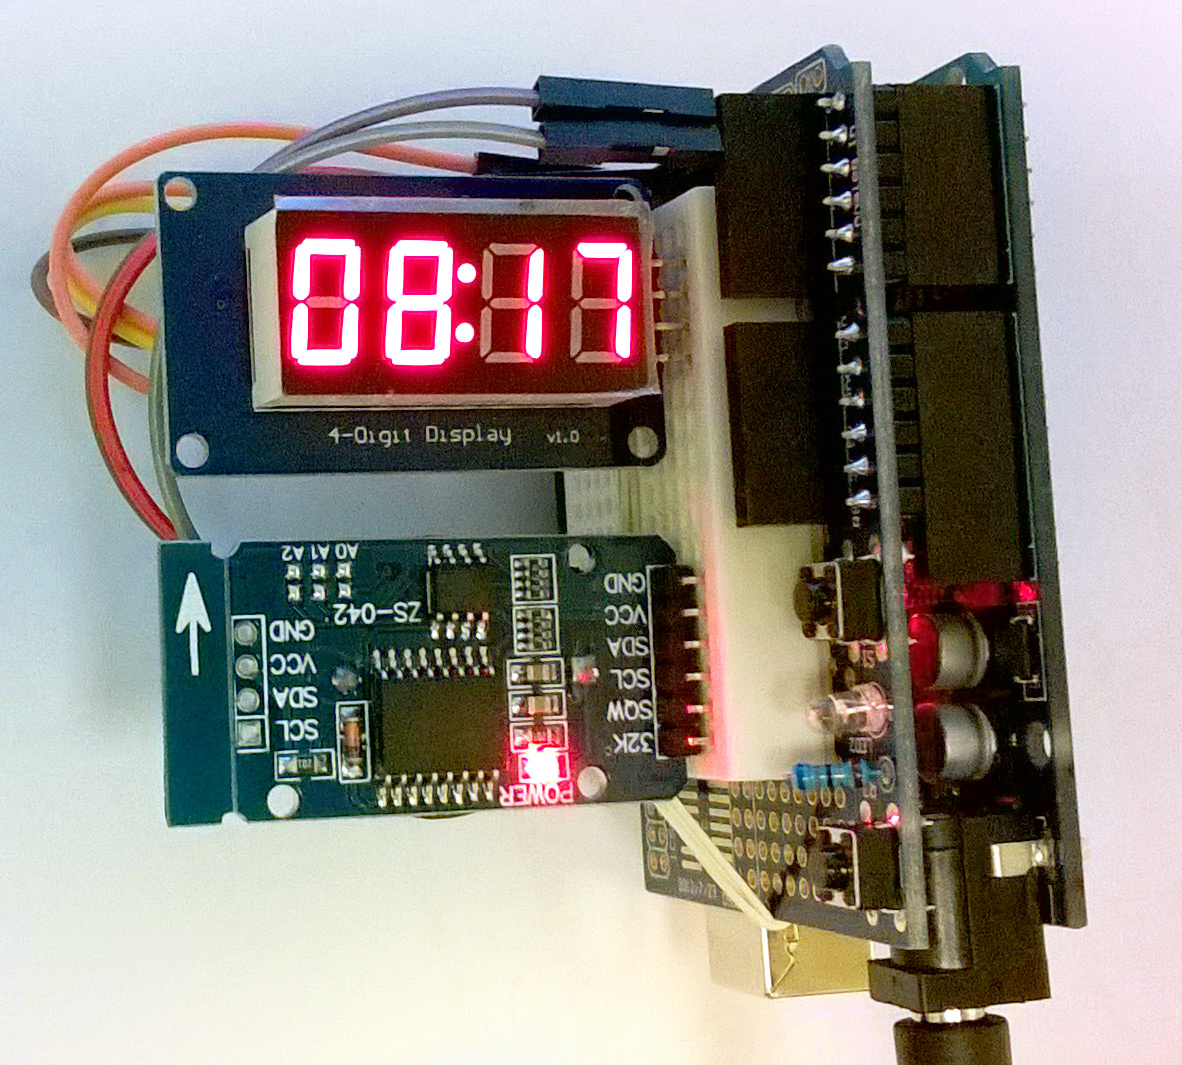
As you can see all setup was arranged on Proto Shield with SYB-170 breadboard. This way, it can be easily dismounted from UNO base, and left aside. Then, once you want to use UNO board for another project you can take it, and once you want return to this one, the shield has to be slided onto UNO, code written back to the board, and everything works back again :-). As I often switch between the projects, I do like this approac, and have at least 2 proto shields loaded with some parts and finished_but_may_return_to projects on them 🙂 )
The code for the clock part uses Dr. Eric Ayars library and display code is based on Avishay (avishorp) library from GitHub the colon, which is not implemented there was „semi manually” added (the same way as here)
#include <DS3231.h>
#include <Wire.h>
#include <Arduino.h>
#include <TM1637Display.h>
#define CLK 2
#define DIO 3

TM1637Display display(CLK, DIO);
DS3231 Clock;
bool h12, PM;

void setup() {
  display.setBrightness(0x0f);
  Wire.begin(); // Start the I2C interface
// this part is for setting the clock
//        Clock.setSecond(0); Clock.setMinute(37); Clock.setHour(15);
//        Clock.setDoW(2); Clock.setDate(18);  Clock.setMonth(11);  Clock.setYear(15);
}

void ReadDS3231()
{
  int second,minute,hour;
  uint8_t segto;
  second=Clock.getSecond();
  minute=Clock.getMinute();
  hour=Clock.getHour(h12, PM);
  display.showNumberDec(hour*100+minute, true);
  delay(500);
  segto = 0x80 | display.encodeDigit(hour%10);
  display.setSegments(&segto, 1, 1); //add colon to separate values
  delay(500);
}

void loop() {
  ReadDS3231();
}
3 thoughts on “DS3231 AT24C32 TM1637 4digits”