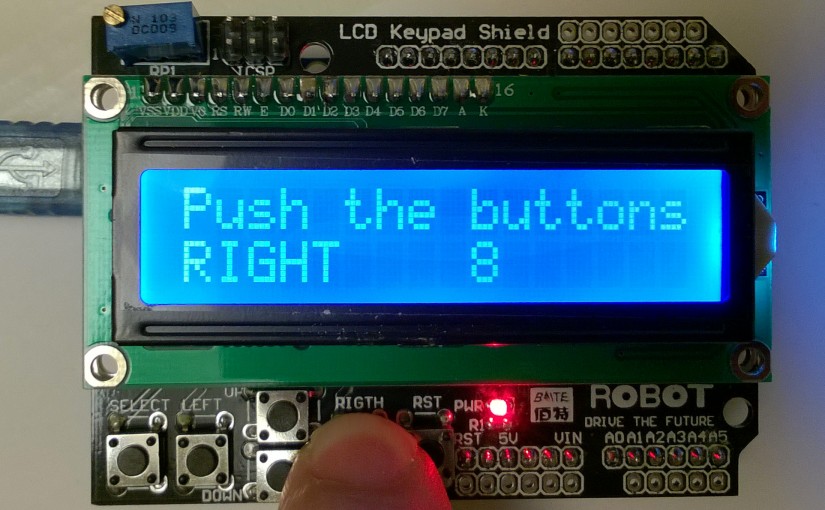
A display and buttons shield (but BTW: have you checked other Displays on this site?) well suited as the human interface for a number of “compact design standalone” projects.
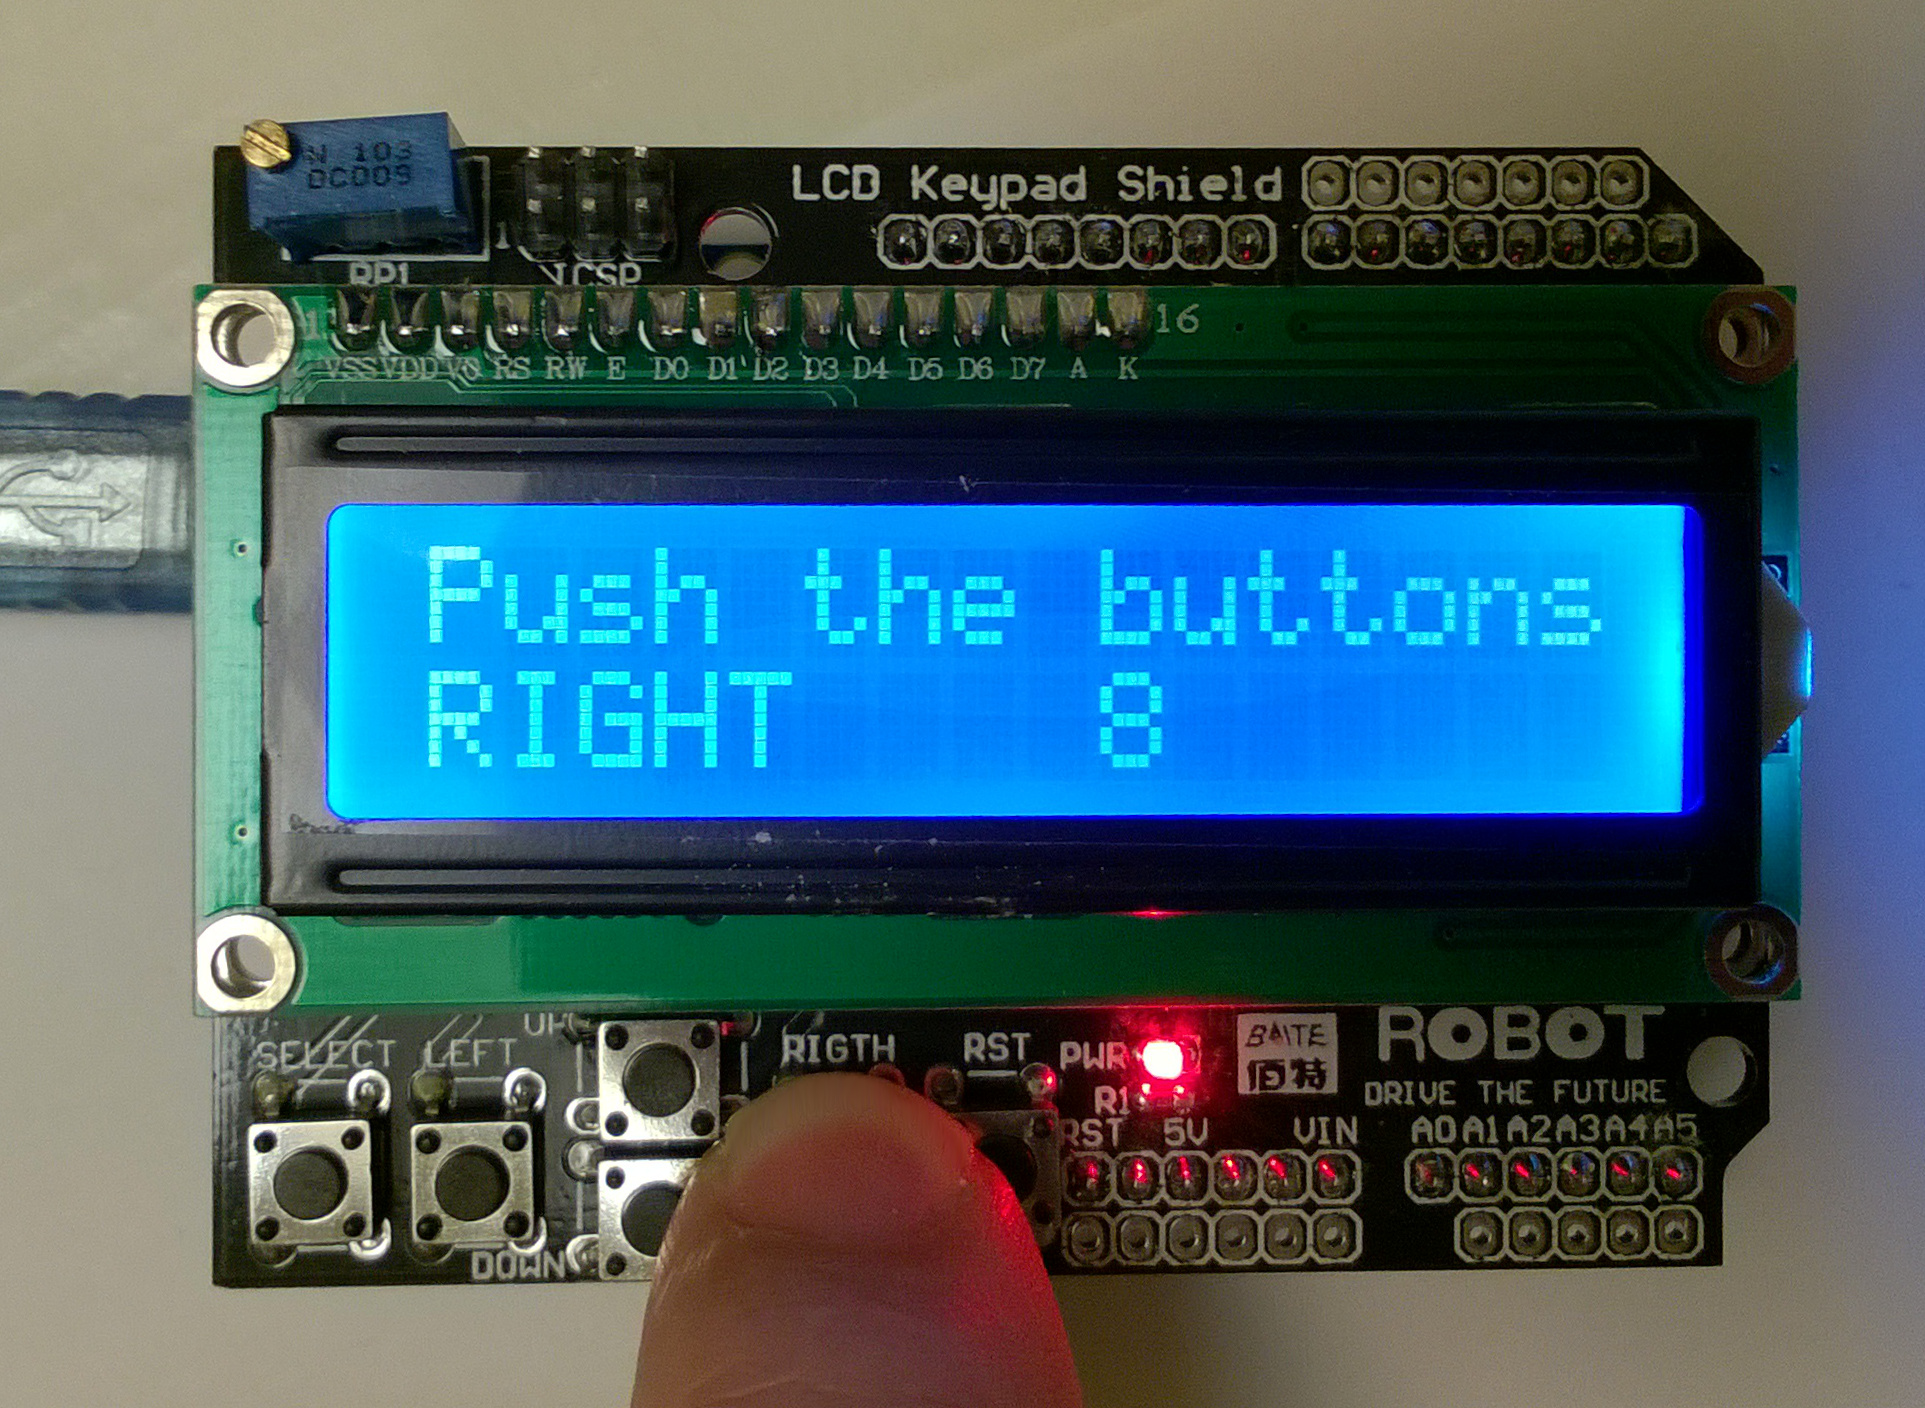
Similar to already described 16×2 LCD module (using the same display), but with 6 built into the shield buttons (RESET, SELECT; and 4 directions: LEFT, UP, DOWN, RIGHT).
The shield leaves a lot of pins at your disposal. Used pins are only:
| Analog 0 | Button (select, up, right, down and left – see the code comments) |
| Digital 4 – 7 | DB4 – DB7 |
| Digital 8 | RS (Data or Signal Display Selection) |
| Digital 9 | Enable |
| Digital 10 | Backlit Control |
So the user has free access to Analog 1-5, and Digital 0-3 and 11-13. Out of these, the most important are 0 and 1, which can be used as RX and TX, 3 and 11 with are PWM capable, as well as standard LED 🙂 output on digital pin 13.
Also whole ISCP connector, which is normally blocked by the shield body is repeated on the side.
For first tests I used code directly from DFRobot Wiki
//Sample using LiquidCrystal library
#include <LiquidCrystal.h>

/*******************************************************

This program will test the LCD panel and the buttons
Mark Bramwell, July 2010

********************************************************/

// select the pins used on the LCD panel
LiquidCrystal lcd(8, 9, 4, 5, 6, 7);

// define some values used by the panel and buttons
int lcd_key     = 0;
int adc_key_in  = 0;
#define btnRIGHT  0
#define btnUP     1
#define btnDOWN   2
#define btnLEFT   3
#define btnSELECT 4
#define btnNONE   5

// read the buttons
int read_LCD_buttons()
{
 adc_key_in = analogRead(0);      // read the value from the sensor
 // my buttons when read are centered at these valies: 0, 144, 329, 504, 741
 // we add approx 50 to those values and check to see if we are close
 if (adc_key_in > 1000) return btnNONE; // We make this the 1st option for speed reasons since it will be the most likely result
 // For V1.1 and later use this threshold. for older see http://www.dfrobot.com/wiki/index.php?title=Arduino_LCD_KeyPad_Shield_%28SKU:_DFR0009%29
 if (adc_key_in < 50)   return btnRIGHT;
 if (adc_key_in < 250)  return btnUP;
 if (adc_key_in < 450)  return btnDOWN;
 if (adc_key_in < 650)  return btnLEFT;
 if (adc_key_in < 850)  return btnSELECT;

 return btnNONE;  // when all others fail, return this...
}

void setup()
{
 lcd.begin(16, 2);              // start the library
 lcd.setCursor(0,0);
 lcd.print("Push the buttons"); // print a simple message
}

void loop()
{
 lcd.setCursor(9,1);            // move cursor to second line "1" and 9 spaces over
 lcd.print(millis()/1000);      // display seconds elapsed since power-up or reset
 lcd.setCursor(0,1);            // move to the begining of the second line
 lcd_key = read_LCD_buttons();  // read the buttons

 switch (lcd_key)               // depending on which button was pushed, we perform an action
 {
   case btnRIGHT:
     {
     lcd.print("RIGHT ");
     break;
     }
   case btnLEFT:
     {
     lcd.print("LEFT   ");
     break;
     }
   case btnUP:
     {
     lcd.print("UP    ");
     break;
     }
   case btnDOWN:
     {
     lcd.print("DOWN  ");
     break;
     }
   case btnSELECT:
     {
     lcd.print("SELECT");
     break;
     }
   case btnNONE:
     {
     lcd.print("NONE  ");
     break;
     }
 }
}